Rooftop penetrations are common in most commercial and residential buildings. They occur when installing HVAC units, plumbing vents, skylights, electrical conduits, or exhaust fans. These openings are necessary for building functions, but they can also create weak spots. As a general contractor, knowing how to install and seal these penetrations properly is crucial. This ensures the roofing system lasts and maintains the entire building’s integrity.
In this guide, we’ll cover important details every general contractor should know about rooftop penetrations. We’ll discuss types, risks, best installation practices, and maintenance tips.
What Are Rooftop Penetrations?
Rooftop penetrations refer to any intentional openings or installations that pass through the roof membrane or structure. Common rooftop penetrations include:
-
HVAC ductwork and equipment mounts
-
Plumbing vents and stacks
-
Electrical conduits and wiring
-
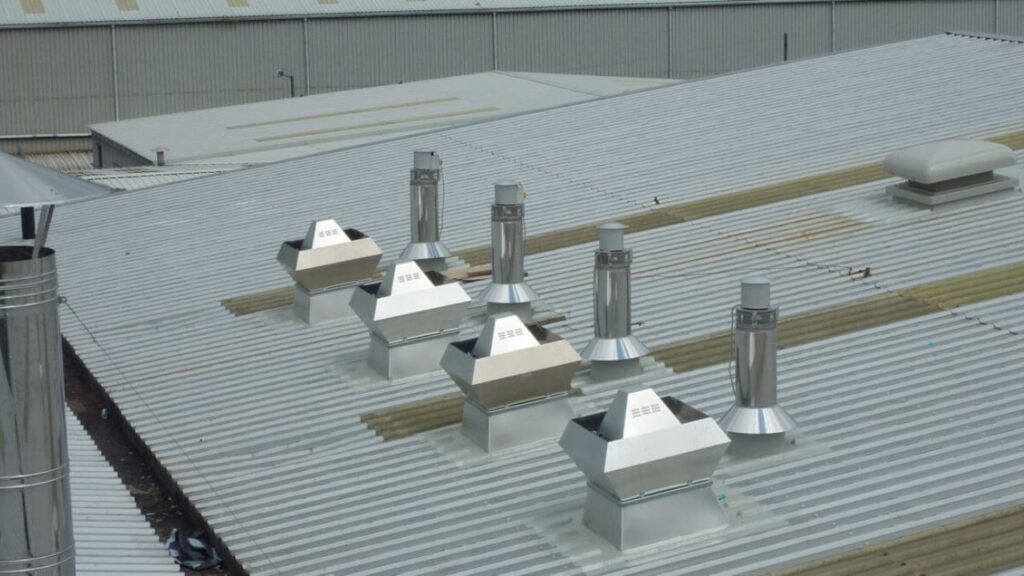
Exhaust vents for kitchens, bathrooms, or dryers
-
Skylights and solar panel mounts
-
Satellite dishes and antennas
-
Drainage pipes and overflow systems
All these elements need to fit well into the roofing system. This helps stop leaks, avoids structural damage, and reduces energy loss.
Why Are Rooftop Penetrations a Concern?
Rooftop penetrations are among the most common sources of roofing failures. They disrupt the continuity of the roofing membrane and create vulnerable points where water can enter. Bad installation or old parts near penetrations can cause leaks. This may lead to mold growth, damage to roofing materials, and expensive repairs.
Additionally, rooftop penetrations can affect the building’s energy efficiency. Gaps or inadequate sealing can allow air infiltration, increasing heating and cooling costs.
General contractors must install all penetrations with proper flashing, sealing, and support. This keeps the roof watertight and ensures good thermal performance.
Key Considerations for Rooftop Penetrations
1. Planning and Coordination
Effective coordination between the roofing contractor, mechanical, plumbing, and electrical trades is crucial. Penetrations must be planned early during the design phase to determine locations, sizes, and structural requirements. This prevents last-minute modifications that can compromise the roof system.
2. Compliance With Codes and Manufacturer Guidelines
Building codes and roofing manufacturer warranties often have strict requirements regarding rooftop penetrations. These guidelines specify the types of flashing, sealants, and materials approved for use. Contractors must adhere to these standards to ensure safety, code compliance, and warranty protection.
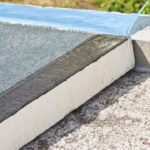
3. Use Quality Flashing Materials
Flashing is the key component that surrounds and seals rooftop penetrations. It is typically made of metal (such as aluminum or copper) or flexible membrane materials compatible with the roofing system. Using high-quality flashing materials ensures durability and resistance to weathering.
4. Proper Sealing Techniques
Sealants and adhesives play a vital role in waterproofing penetrations. Silicone, polyurethane, or roofing-specific sealants are commonly used. The sealant must be applied correctly and inspected regularly to maintain a watertight barrier.
5. Structural Support and Stability
Heavy equipment like HVAC units require additional structural support on the roof deck. Improper mounting can cause roof membrane damage due to movement, vibration, or settling. Using curbs, saddles, or brackets designed for rooftop installations helps maintain stability.
6. Thermal Expansion and Movement
Materials on rooftops expand and contract with temperature changes. Penetrations and their flashing must accommodate this movement to avoid cracks and gaps. Flexible flashing materials and sealants help absorb expansion stresses.
7. Access and Safety Considerations
Rooftop penetrations must be installed with safety in mind. Contractors should ensure that work zones are secured and that safety protocols are followed, especially when working near skylights or fragile roof materials.
Common Types of Flashing for Rooftop Penetrations
-
Step flashing: Used around chimneys and vertical walls adjoining the roof.
-
Base flashing: Installed at the base of penetrations like vents or pipes.
-
Counter flashing: Overlaps base flashing to prevent water intrusion.
-
Pipe flashing: Specifically designed rubber or metal boots for round pipes.
-
Curbs: Raised structures supporting equipment like HVAC units or skylights, flashing is then installed around the curb.
Selecting the appropriate flashing type depends on the penetration type, roof slope, and roofing material.
Step-by-Step Installation Best Practices
-
Inspect the Roof Deck: Ensure the substrate is in good condition before installing penetrations. Any damage should be repaired.
-
Install Curbs or Support Structures: For heavy equipment, install curbs or mounts securely and level.
-
Place Flashing Correctly: Flashing should extend under the roofing membrane on the upslope side and over the membrane on the downslope side to channel water away.
-
Seal Penetrations Thoroughly: Apply sealants liberally and evenly around the flashing edges and penetration points.
-
Integrate With Roofing Membrane: Overlap roofing materials properly over the flashing to maintain continuity.
-
Perform Quality Checks: Inspect all penetrations for gaps, cracks, or loose materials. Test for water tightness if possible.
-
Document Installation: Keep detailed records, including photos, for warranty and maintenance purposes.
Maintenance Tips for Rooftop Penetrations
Even the best-installed rooftop penetrations require periodic maintenance to prolong their lifespan:
-
Regular Inspections: Check flashings and sealants at least twice a year, especially after severe weather.
-
Prompt Repairs: Address any cracks, gaps, or deterioration immediately.
-
Clean Surrounding Areas: Remove debris, leaves, or dirt that can trap moisture around penetrations.
-
Replace Aging Components: Flashing and sealants degrade over time—replace them as recommended by manufacturers.
Risks of Neglecting Rooftop Penetrations
Failing to properly install or maintain rooftop penetrations can lead to:
-
Water leaks causing interior damage, mold, and rot.
-
Structural deterioration of roofing materials and decks.
-
Decreased energy efficiency and higher utility bills.
-
Voided roofing warranties and costly legal liabilities.
-
Safety hazards from equipment failure or roof collapse.
Working With Experienced Roofing Professionals
General contractors must team up with skilled roofing specialists. These experts know the ins and outs of rooftop penetrations. They help choose materials and use proper flashing techniques. They also ensure compliance with codes and manufacturer warranties.
Clear communication and teamwork among all subcontractors are vital. This way, penetrations are installed correctly and do not harm the roof system.
Final Thoughts
Rooftop penetrations are necessary but can be weak points in roofing systems. For general contractors, knowing how to plan, install, and maintain these areas is key. This helps prevent leaks, protects building integrity, and ensures long-term performance.
By following best practices for flashing, sealing, and structural support, you can reduce risks. Collaborating with roofing and trade professionals also helps deliver durable, code-compliant projects.
If you’re starting a project with rooftop penetrations, consult roofing experts early. Their advice can save time, cut costs, and prevent problems later.
Read More: Commercial Roofing Financing Tips: A Complete Guide